Making an Unusual Photograph Frame
Here's an idea for an applied marquetry project - a photograph frame specifically tailored to the photograph it is to contain.


First ... select your photograph. In this case a charming portrait of the webmaster with his mother, Mrs. Webmaster Senior, taken at the Dr. Sun Yat-Sen Classical Chinese Garden in Vancouver, Canada.
The design was roughed out on paper, full size, and cut out. The Canadian theme was picked up with the maple leaf and some Chinese lettering was considered for elsewhere on the frame. Note that the maple leaf extends over the picture face - this is what makes the frame so unusual. Be careful not to hide an important element of the photo though ... unless it's intentional!
The basic pieces of the frame were then prepared, from the left: the front of the frame in 6mm medium density fibreboard (MDF), with the frame aperture cut but a corner left in place big enough for the intruding maple leaf. The glass (3mm) with a piece of 3mm MDF cut to just accept the glass. The back (6mm MDF) with a piece cut through the same size as the glass. This piece will become the back through which the photograph is inserted.


The three MDF pieces were glued togther using PVA wood glue and a mottley selection of clamps!
Once stuck, edges were squared down using a block and medium abrasive paper.
The marquetry was hand cut in the usual way, with the leaf element cut into an oversize 'corner' matching the extra MDF left within the frame.


Veneers were cut for the edges of the frame and these were glued with PVA adhesive and allowed to dry. The edges of the board were coated in the same way.
PVA glue can be re-activated by modest heat, so the pre-glued edges were applied using a domestic iron (not Mrs Webmaster junior's best one!). Note that the edges were applied oversize and were trimmed once the adhesive had cooled and set.
The face was also ironed on, giving the first indication of the appearance of the finished frame. The additional Chinese characters can be seen for the first time in this photograph.


The excess MDF and veneer around the leaf element was then cut way using a fine blade fret-saw.
The sections were cut away one at a time, rather than trying to turn the corners, in order to keep the corners sharp.
Veneer strips were applied to the inside of the frame and the edges of the leaf using PVA adhesive. As it was almost impossible to clamp in these areas, the pieces were held in place by tightly stretched strips of masking tape.


Some of the strips around the leaf had to be chamfered using an angled scalpel blade to ensure a neat fit.
The leaf with all edges finished. The frame was then scraped and sanded smooth.
Always an exciting moment ... the first coat of finish, in this case cellulose sanding sealer, brings out the true colour of the veneers.
The finished frame, an attractive and unique gift made using basic marquetry techniques.
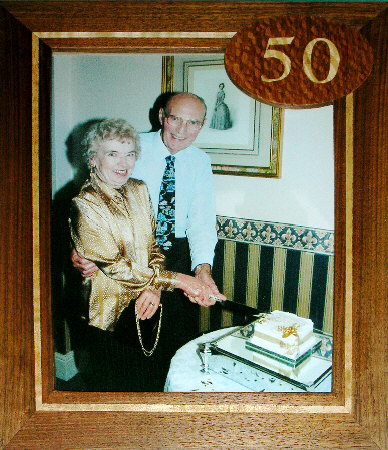
Another example.